Sunday, July 17, 2011

Friendzy Friday Organza Flowers

For this week's Friendzy Friday at Two Scrapbook Friends, I would like to show you these elegant sheer embellishments I made.

You will need sheer fabric (I used organza), coordinating Stickles and a decorative brad.


Cut graduated circles from your sheer fabric.


Trace the edges with Stickles and allow to dry.


Layer the circles and secure with a decorative brad. I used this gorgeous brad from MME's Lush collection.


Here's a finished example on a layout. I just love the sheer elegance it adds!


These are easy to make! Give them a try and experiment with different fabrics and Stickles colours.


Wednesday, July 6, 2011

Banner Bonanza!

A while back my TSF fellow forum follower and former DT member Bobbi put a call out for people to participate in a banner swap. I signed up and the group decided on a colour scheme, banner bases and the word "Celebrate."

I was assigned the letter "C". So I gathered some Echo Park papers in the appropriate colours, some coordinating felt and some paint.


Here's what I came up with.


Then I made 8 more!


Best of all...here's the finished banner. It turned out so beautifully! I am thrilled with all the details and love everyone put into their letters.


Here are some of those gorgeous details...


Thanks ladies and thanks Bobbi! I am a now a proud owner of this banner and it hangs in my craft room where I can admire it all the time.

Friday, July 1, 2011

July DT Reveal

This month for the TSF DT, I received some great products from Cosmo Cricket's "Social Scene" line as well as Bella Blvd., some pearls, 4 glubers and some red fabric.


I made four layouts, two of our trip last year to Lulea in northern Sweden and two of Niagara on the Lake, or as we affectionately call it, "NOTL" as though it was a word.


I made this light green accent by winding the draw string from an old pair of yoga pants on a gluber!! I love how it turned out.


Lots of detail cutting! I love when papers lend themselves to that.


And here's a sneak of my "Cheers to Niagara Ice Wine" layout. I made this funky flower by pressing scrunched circles into a gluber. Kind of cool!


And "What a Cool Day" we had in Lulea! Close to the arctic circle but hot and sunny!


I made this flower with strips of my fabric and a gluber. I also stiffened some of the fabric to make this pleated strip that I pinked with scissors.


Here's a sneak of the other side of the Lulea layout. I hand cut this flower from the stiffened fabric. I also made a few rolled blossoms out of the stiffened fabric. It worked really well!


Finally I made a quick card. With my last gluber I made this pink flower from ribbon I dyed with Maya Mist.


Thanks for looking and be sure to check out my very talented fellow DT ladies to see what they came up with this month!

Friday, June 17, 2011

My Mind's Eye and Moment 4 Life

I recently purchased some fabulous MME paper (Lime Twist) from Two Scrapbook Friends. The hot air balloons totally reminded me of our trips to Stockholm. We have seen hot air balloons there each time, including the first time 13 years ago on our honeymoon.

So when I saw this challenge at My Mind's Eye I knew I had to play along.

Here is the great sketch for inspiration.


And here's my layout. The challenge also included the use of music lyrics. I love "Moments 4 Life" by Nicki Minaj right now, especially the line "everybody dies but not everybody lives." That is so true. Being in Stockholm reminds me how precious life is and to live every day to the fullest!

Thursday, June 16, 2011

Friendzy Friday Wedding Flowers

Remember those kleenex flowers you used to make for weddings? I saw a video for these a while ago and thought I would try to make them myself for this week's Two Scrapbook Friends Friendzy Friday.

You will need medium weight cardstock (I used white), a scalloped circle punch or die (mine is the one inch Cuttlebug die), ink, a brad, piercing tool, and spritz bottle of water.


Cut 8 scalloped circles.


Ink the edges. Be generous with the ink, it will look great in the finished flower!


Spritz the scalloped circles with water. Then scrunch up the circles into tiny balls.


Immediately unfold the circles.


Stack the circles and secure in the centre with a small brad, using your piercing tool to get through all 8 layers. You won't see the brad in the final flower so it doesn't matter what colour it is.


Beginning with the top layer, scrunch up the circle around the brad. Repeat for each of the layers.


Carefully unfold each layer, spreading the circles into a nice round flower. Here is my finished flower. I spritzed it with clear sparkly Maya Mist when it was finished.


And here is my flower on a finished layout.


These are easy and fun. Experiment with different kinds of paper, inks and sizes.

Thanks for looking!

Wednesday, June 1, 2011

June DT Reveal Part Deux!

I bet you were wondering what I did with those mini wooden bobbins from my DT stash. Well I checked out my own stash and realised I had more "sewing" themed stuff than I thought. So I made a couple of cards. The dress form is a rub on from Fancy Pants. And the measuring tape paper and twill have been in my stash for ages. I added the Twinery twine around the bobbins. I love that stuff!


What a fun month! Thanks for peeking.

June DT Reveal for TSF

This month I can't tell you how thrilled I was to receive the BoBunny Gabrielle line to play with for the TSF design team!

I received gorgeous double sided papers, a sticker sheet which included mini alpha stickers (I just love those!), a sheet of large and small alphas from Bella Blvd., some trim, a fabric blossom plus four mini wooden spools.


Well I just couldn't bring myself to cut into the gorgeous papers, so I decided to use them as background paper and craft some handmade embellishments to enhance the already beautiful papers.

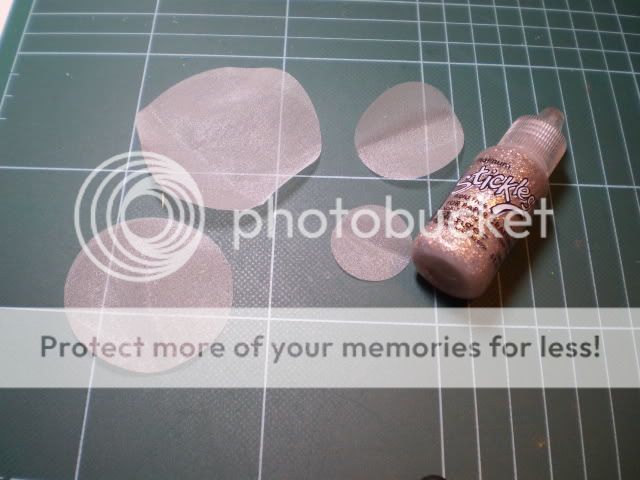
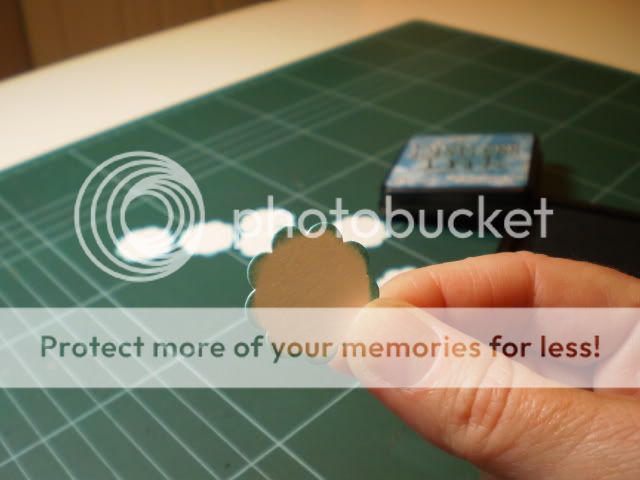
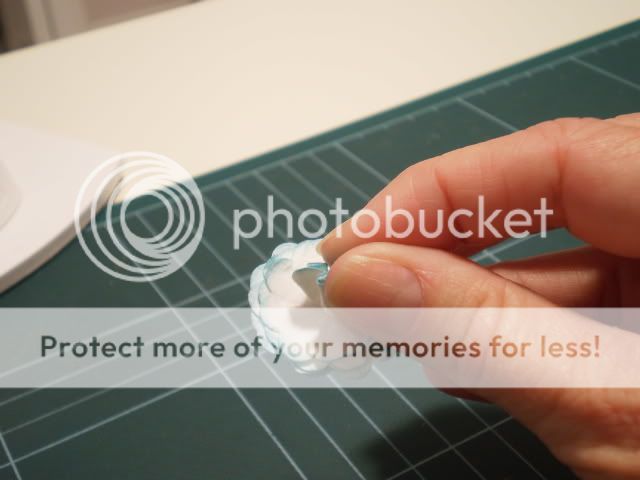
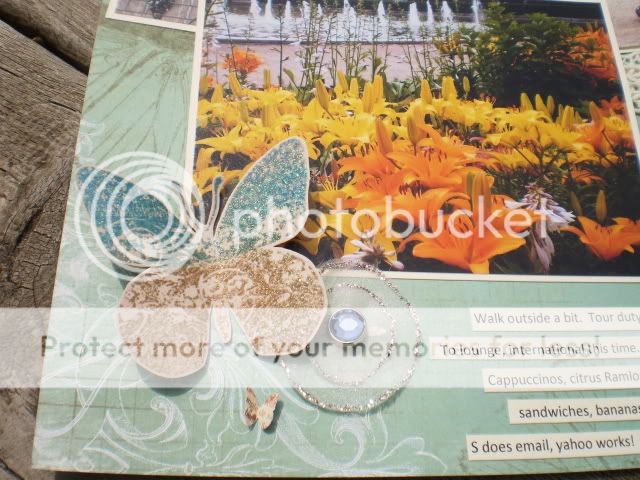
First I stamped and embossed some butterflies since they totally went with this line. I also cut circles from organza and trimmed them with coordinating Stickles to make these flowers. The big blue brad is from MME.


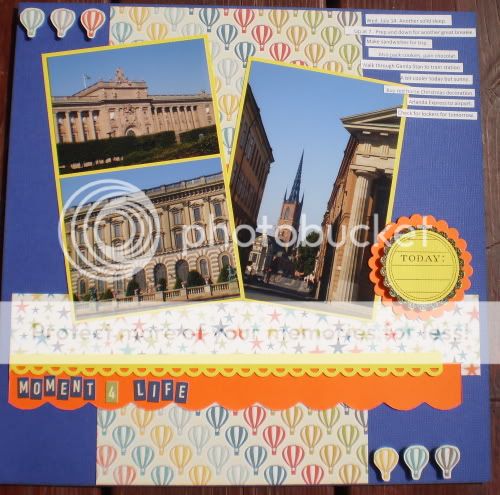
Here is the whole layout of our arrival in Helsinki Finland last summer!


This is also Helsinki. I just loved the art deco tower on the train station. I took so many pictures of it at different times of day. Even at nearly midnight it was still quite bright during the Scandinavian summer. I added the clouds cut from cream felt and the butterflies punched with my new Martha punch. I just love that thing!


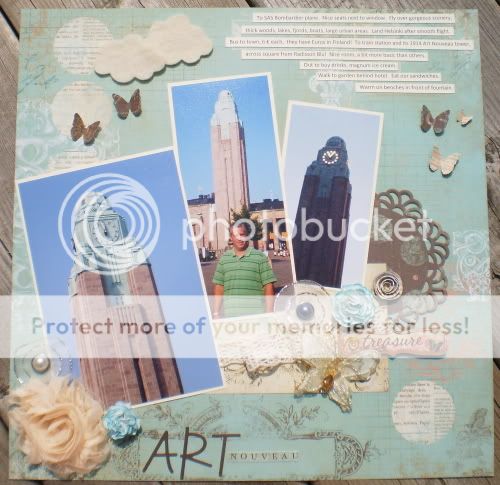
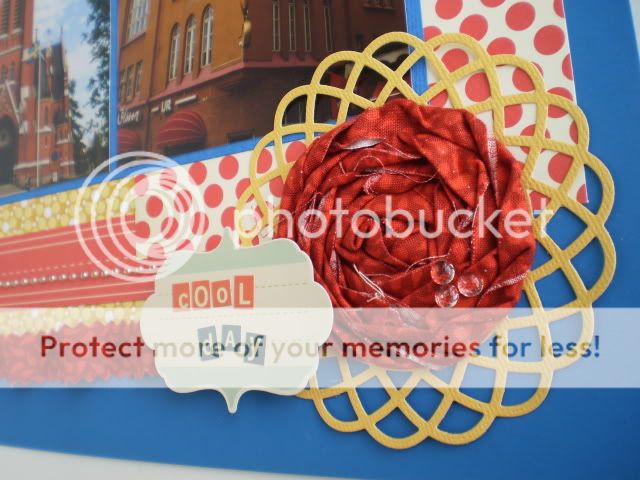
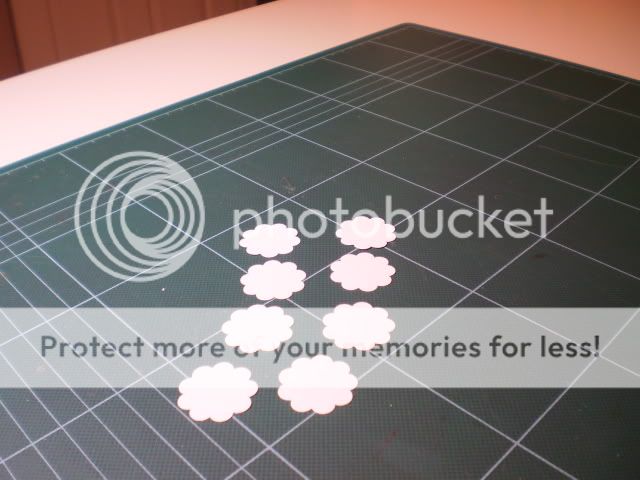
I also crafted these blue papers flowers. They are kind of like the old kleenex flowers you used to make for weddings!


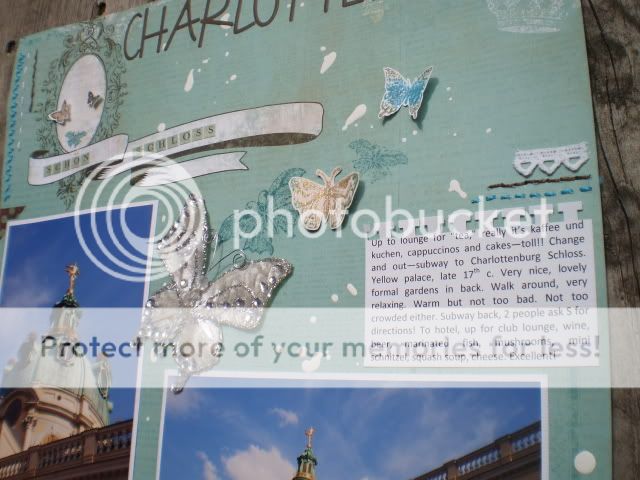
This is Berlin. We visited a "Schon Schloss" or beautiful castle called Charlottenburg. I started these two pages by splashing some white paint on the background paper. I added the big silver Prima butterfly and some more stamped/embossed butterflies that I cut out. A bit of trim and stitching finished it off!


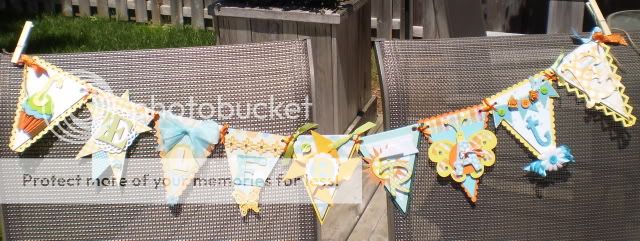
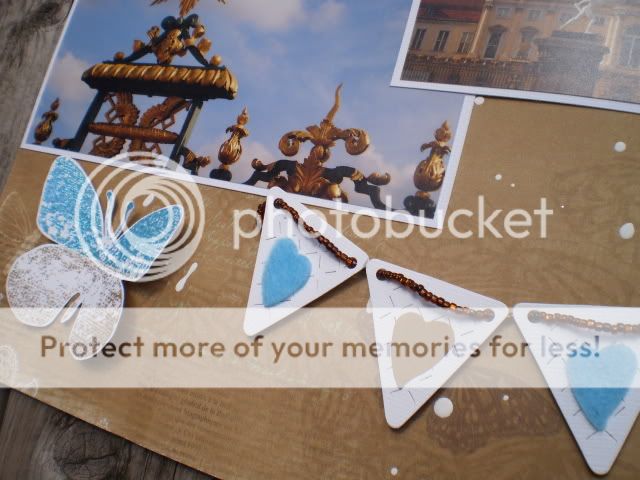
I also wanted to add some seed beads to this layout so I strung my banner with a rope of beads!


What a wonderful stash I got to work with this month. Thank you ladies and thanks for looking! Be sure to head on over to TSF to check out what my talented fellow DT did!