A while back Carolyn from TSF posted a video on her blog for burlap flowers. I thought I would adapt it for paper flowers!
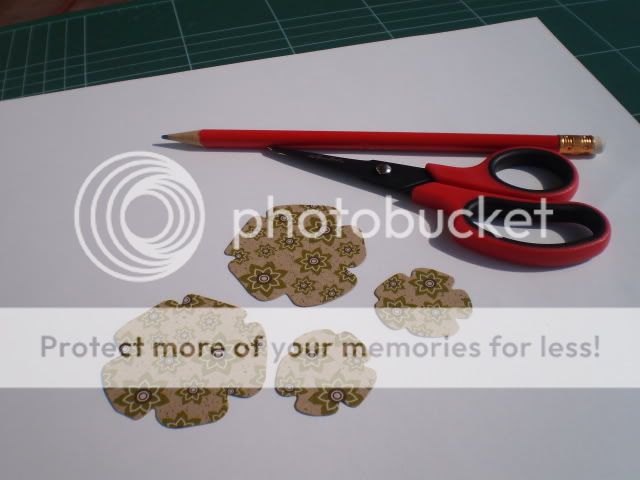
You'll need some heavier patterned paper (or card stock), liquid glue, a pencil, scissors and some flower shapes in graduated sizes.

Now, stack all your layers, adhering with liquid adhesive. I found that three layers was plenty, two larger flowers and one smaller. Use how ever many you like!

I topped my flower with a pearl accent.

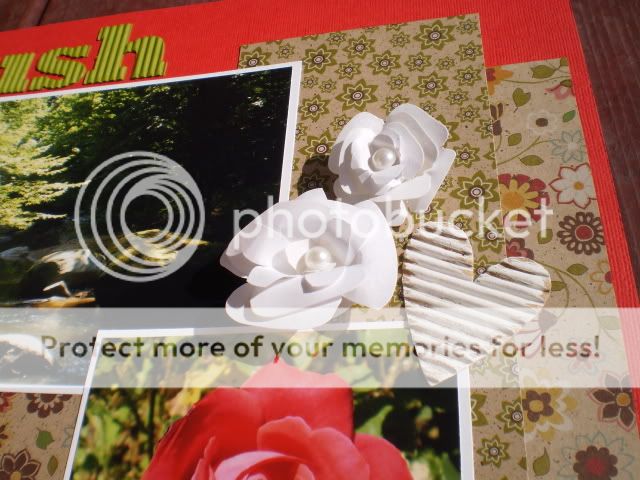
Here is a finished layout with several of these flowers. I sprayed the white ones (made from card stock) with clear sparkly Maya Mist after they were assembled.


You'll need some heavier patterned paper (or card stock), liquid glue, a pencil, scissors and some flower shapes in graduated sizes.
Cut two each of two different sized flowers.
Mine didn't have very deeply defined petals, so I notched them out more. Next, make one cut between two petals, right into the centre.
Snip off one petal next to the deep cut you just made.

Apply some liquid adhesive to the "stump" of the petal you just cut off, and adhere the next petal to it.
Repeat this process for each of your flowers.
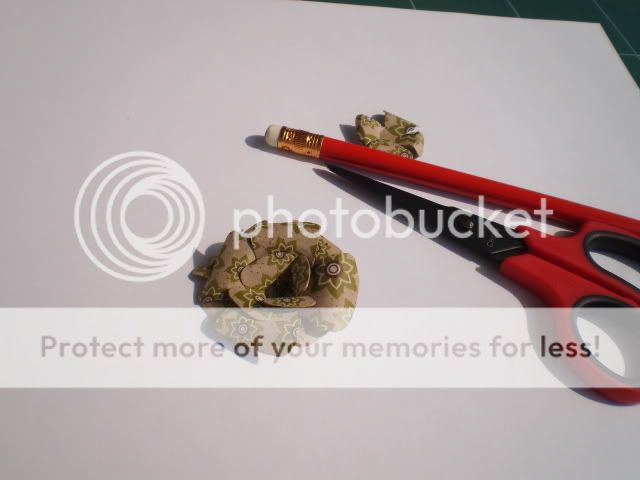
Next, using your pencil, curl each petal.

Now, stack all your layers, adhering with liquid adhesive. I found that three layers was plenty, two larger flowers and one smaller. Use how ever many you like!

I topped my flower with a pearl accent.

Here is a finished layout with several of these flowers. I sprayed the white ones (made from card stock) with clear sparkly Maya Mist after they were assembled.


Thanks for peeking!


1 comment:
I just love your flower tutorials!
Post a Comment