So this week I decided that a version of these first day of school cones would make a great Friendzy Friday for TSF! I made one for my DH who will be heading "back to school" (back to work).
You will need a 12x12 sheet of stiff patterned paper, a stapler, ruler, pencil, scissors and liquid glue.

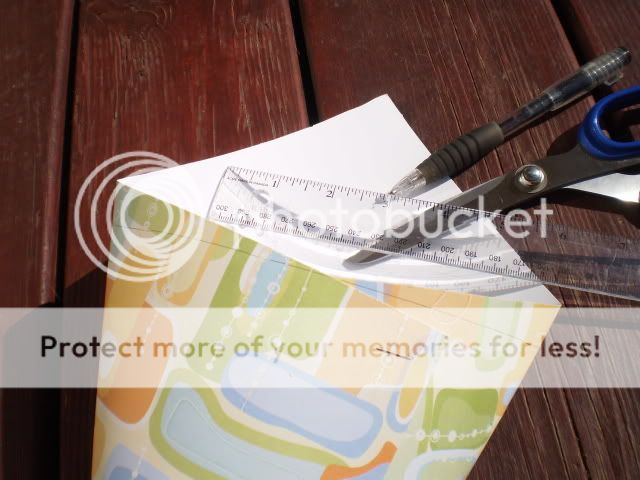
Fold your paper into a cone, overlapping the edges and trying to achieve a nice point at the bottom. Staple your cone in a few places so that it will hold its shape. Don't worry, you will hide the seam and the staples with your embellishments.

Draw a pencil line across the top of your cone to achieve a nice even top. Then trim along your line.
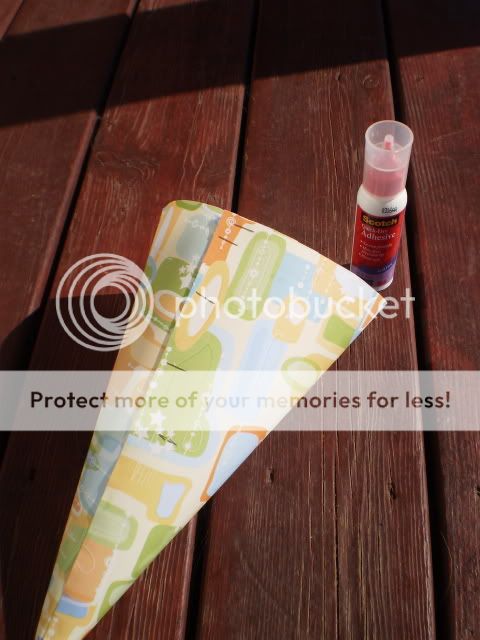
Add more staples as needed and apply some liquid glue along the seam as well.
Now that your basic cone is finished, let your imagination soar to decorate your back to school cone. I attached eyelets on each side and used this nice green ribbon as a holder. I glued this pom pom trim along the top to hide the edge. I punched lots of colourful stars from card stock, layered them and used them to hide the seam.

On Sept 6th I plan on filling this with little presents (like a Tim's card, chocolate, a new toothbrush, markers etc.) and hanging it on my DH's chair as a first day of school present. Maybe a new tradition is born??
Give these a try and show us your creations!