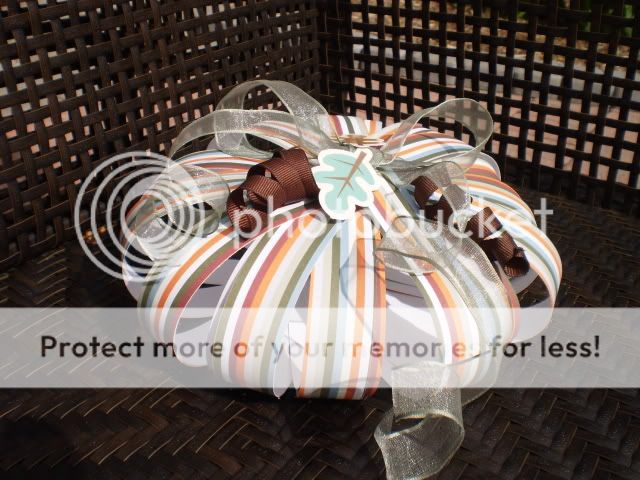
You will need two 12x12 sheets of the same paper. I chose a striped patterned paper, but a card stock or two sided paper would work just as well. You also need approx 14 inches of thin ribbon, a large gauge needle, an eighth inch hole punch,and some embellishments for your finished pumpkin.

Trim your paper into 1 inch strips. This will give you a big pumpkin. I shortened my strips to 10 inches for a medium sized pumpkin. Your choice!

Punch a hole in each end of every strip.

Stack your strips and thread the ribbon through the holes in one end, securing with a large knot.

Thread the ribbon through the holes in the other end, pulling the strips into a "C" shape and secure with another large knot. Ensure that your pattern (if you have one) is facing on the outside of the "C."

Shape your strips into a round pumpkin form. You may want to adhere a small circle of cardstock to the bottom to give your pumpkin some stability.

Now decorate your pumpkin. I used this wired green ribbon for a large bow. I adhered some chipboard leaves from Imaginisce and I made these brown tendrils by spraying ribbon with fabric stiffener and rolling the ribbon around a pencil until dry.

Wouldn't a few of these make a lovely centerpiece or mantle arrangement? Give them a try and be sure to show us your creations!


4 comments:
Really cute Sharon, great idea.
This is totally adorable! Great project!!
This is such a cool idea! I will certainly give it a try!
Joanne xo
These are so fun Sharon!
Post a Comment