Thursday, June 16, 2011

Friendzy Friday Wedding Flowers

Remember those kleenex flowers you used to make for weddings? I saw a video for these a while ago and thought I would try to make them myself for this week's Two Scrapbook Friends Friendzy Friday.

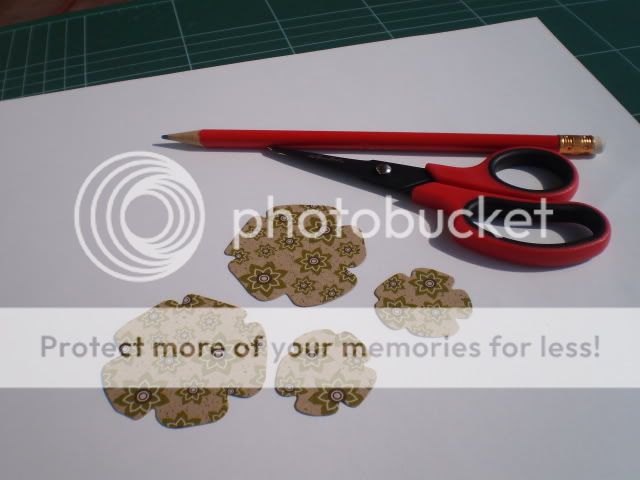
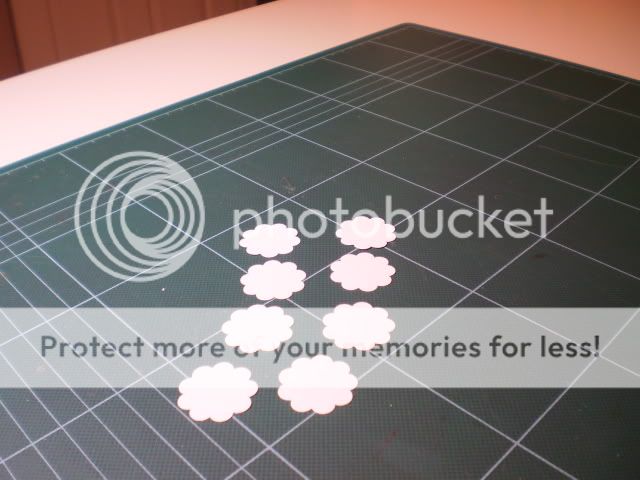
You will need medium weight cardstock (I used white), a scalloped circle punch or die (mine is the one inch Cuttlebug die), ink, a brad, piercing tool, and spritz bottle of water.


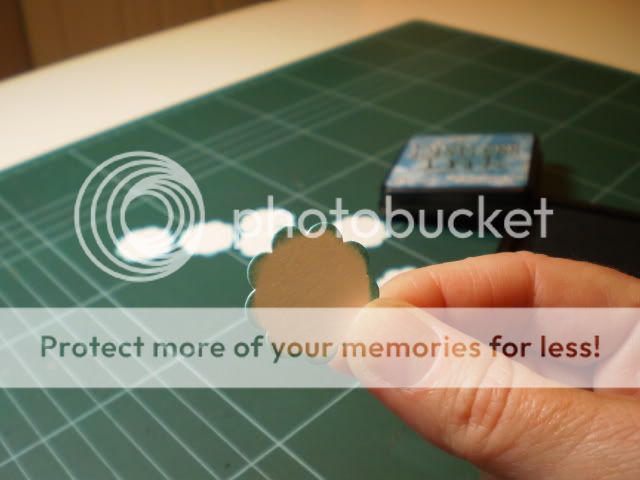
Cut 8 scalloped circles.


Ink the edges. Be generous with the ink, it will look great in the finished flower!


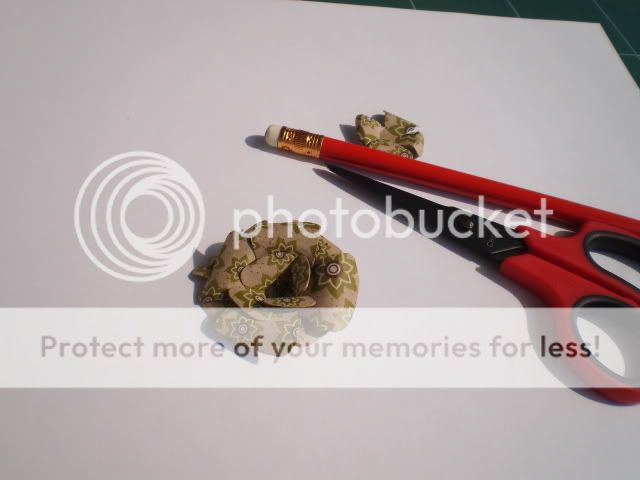
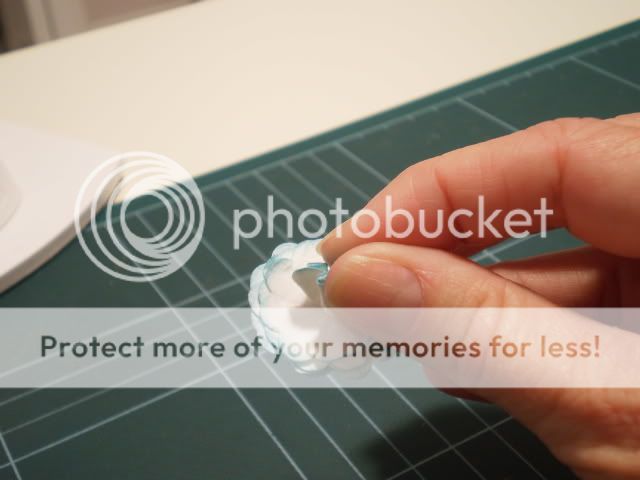
Spritz the scalloped circles with water. Then scrunch up the circles into tiny balls.


Immediately unfold the circles.


Stack the circles and secure in the centre with a small brad, using your piercing tool to get through all 8 layers. You won't see the brad in the final flower so it doesn't matter what colour it is.


Beginning with the top layer, scrunch up the circle around the brad. Repeat for each of the layers.


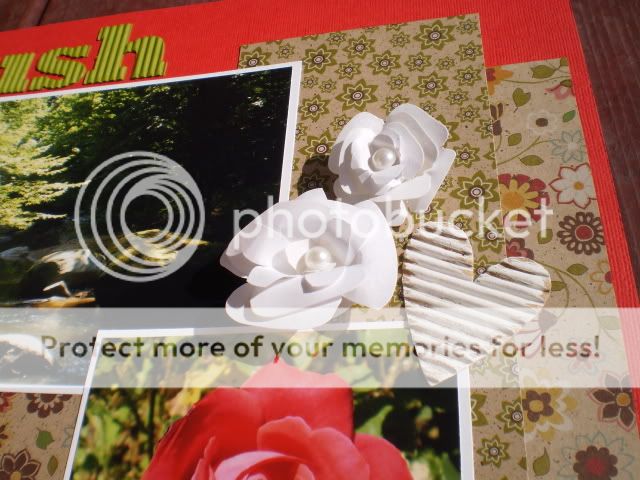
Carefully unfold each layer, spreading the circles into a nice round flower. Here is my finished flower. I spritzed it with clear sparkly Maya Mist when it was finished.


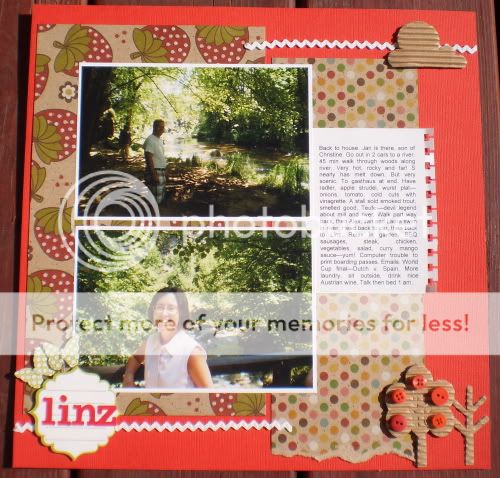
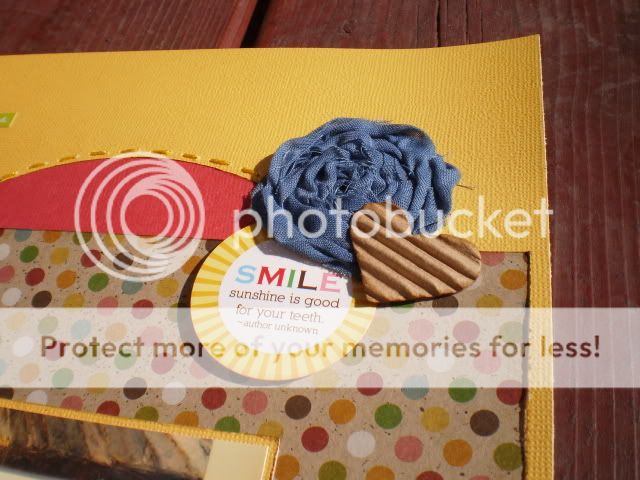
And here is my flower on a finished layout.


These are easy and fun. Experiment with different kinds of paper, inks and sizes.

Thanks for looking!

Wednesday, June 1, 2011

June DT Reveal Part Deux!

I bet you were wondering what I did with those mini wooden bobbins from my DT stash. Well I checked out my own stash and realised I had more "sewing" themed stuff than I thought. So I made a couple of cards. The dress form is a rub on from Fancy Pants. And the measuring tape paper and twill have been in my stash for ages. I added the Twinery twine around the bobbins. I love that stuff!


What a fun month! Thanks for peeking.

June DT Reveal for TSF

This month I can't tell you how thrilled I was to receive the BoBunny Gabrielle line to play with for the TSF design team!

I received gorgeous double sided papers, a sticker sheet which included mini alpha stickers (I just love those!), a sheet of large and small alphas from Bella Blvd., some trim, a fabric blossom plus four mini wooden spools.


Well I just couldn't bring myself to cut into the gorgeous papers, so I decided to use them as background paper and craft some handmade embellishments to enhance the already beautiful papers.

First I stamped and embossed some butterflies since they totally went with this line. I also cut circles from organza and trimmed them with coordinating Stickles to make these flowers. The big blue brad is from MME.


Here is the whole layout of our arrival in Helsinki Finland last summer!


This is also Helsinki. I just loved the art deco tower on the train station. I took so many pictures of it at different times of day. Even at nearly midnight it was still quite bright during the Scandinavian summer. I added the clouds cut from cream felt and the butterflies punched with my new Martha punch. I just love that thing!


I also crafted these blue papers flowers. They are kind of like the old kleenex flowers you used to make for weddings!


This is Berlin. We visited a "Schon Schloss" or beautiful castle called Charlottenburg. I started these two pages by splashing some white paint on the background paper. I added the big silver Prima butterfly and some more stamped/embossed butterflies that I cut out. A bit of trim and stitching finished it off!


I also wanted to add some seed beads to this layout so I strung my banner with a rope of beads!


What a wonderful stash I got to work with this month. Thank you ladies and thanks for looking! Be sure to head on over to TSF to check out what my talented fellow DT did!

Monday, May 30, 2011

Layout Challenge

For my TSF challenge today I chose a sketch from My Mind's Eye.


And here's my take on it. I used Echo Park papers and some Creative Cafe felt.


I am loving my butterfly punch right now!


Thanks for peeking!

Wednesday, May 25, 2011

Friendzy Friday ~ Curled Petal Paper Flowers

A while back Carolyn from TSF posted a video on her blog for burlap flowers. I thought I would adapt it for paper flowers!

You'll need some heavier patterned paper (or card stock), liquid glue, a pencil, scissors and some flower shapes in graduated sizes.


Cut two each of two different sized flowers.


Mine didn't have very deeply defined petals, so I notched them out more. Next, make one cut between two petals, right into the centre.


Snip off one petal next to the deep cut you just made.


Apply some liquid adhesive to the "stump" of the petal you just cut off, and adhere the next petal to it.


Repeat this process for each of your flowers.


Next, using your pencil, curl each petal.


Now, stack all your layers, adhering with liquid adhesive. I found that three layers was plenty, two larger flowers and one smaller. Use how ever many you like!


I topped my flower with a pearl accent.


Here is a finished layout with several of these flowers. I sprayed the white ones (made from card stock) with clear sparkly Maya Mist after they were assembled.


Thanks for peeking!

Tuesday, May 10, 2011

Card Challenge with other Crafts

It is my turn to post a card challenge on the TSF forum.

I know scrapbookers have many crafty talents. So my challenge is to showcase another craft on a card. Think crochet, tole painting, quilling, macrame, beading, knitting. The ideas are endless!

I used to be a big cross stitcher but I haven't done it in ages. So I dug out my patterns, aida cloth and my floss and I cross stitched this wreath. I added some red seed beads for fun and dimension and framed it on a paper doilie cut with my new Dienamics die. Some Twinery twine and a little dry embossing and you have yourself a Christmas card in May! I know, crazy. But you just can't start these things too early.


Head on over to the Forum and check out the fun!

Sunday, May 1, 2011

May DT Reveal

For the Two Scrapbook Friends design team this month, I got to play with some very nice product from Jillibean Soup, the chilled watermelon soup collection. I received kraft papers, a sticker sheet, corrugated shapes, twine, and butterfly pins.


I also received this Accucut template. It made a fun little old fashioned "popcorn" box.


I thought it would make a fun holder for treats for a girls' scrapbooking night.


I created these two pages from our trip to Linz, Austria last summer.


Here's a close up of the flowers I made.


These two pages show our special trip to St. John's, Newfoundland last spring. We had a great brunch at my sister-in-law's restaurant, The Hungry Heart Cafe. I love how Newfoundland's iconic "jellybean row" houses go so well with the corrugated houses! I inked them for even more impact.


Here's a close up of the banner I crafted.


No trip would be complete without photos of the plane and lounge. We have a habit of running into "famous" people when we travel. This time, none other than Great Big Sea's lead man Alan Doyle sat across from us on the flight to St. John's. He was returning home after promoting his work in Russell Crowe's movie "Robin Hood". Everyone knew it was him, but no one bothered him. Of course my husband kept humming "Lukey's Boat" under his breath!


Here's a detail shot of the blue fabric flower I made.


I also made a few cards. This is a sympathy card for my mom's best friend who just lost her husband. I cut the card base with my new scalloped nestie die.


And I threw everything but the kitchen sink at this Mother's Day card because I knew my mom would like that. I added the Kaiser doilie.


Be sure to head on over the TSF gallery to check out what the wonderfully tallented DT ladies did this month!