Thursday, September 1, 2011

September DT Reveal

Hard to believe it is September! For this month's TSF Design Team reveal, I got to work with the Travel Light line from We R Memory Keepers. I do lots of travel layouts so it was very cool to get travel themed product! I received some patterned paper, journalling tags, buttons, muslin banners, twine, and Creative Imaginations alpha stickers.


My parents both have birthdays coming up, so I made two cards. My mom taught me some folding techniques so she will love this butterfly on her card!


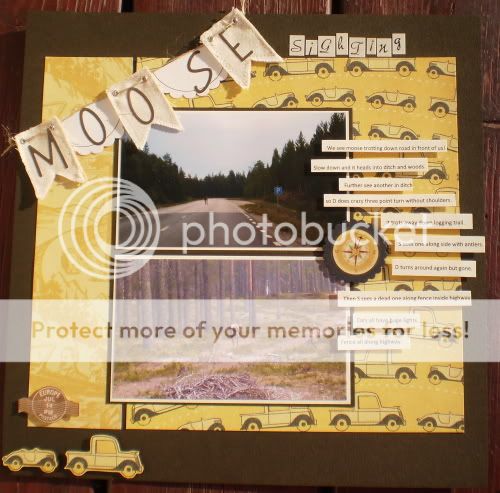
I thought the "road trip" theme paper would go well with these photos of northern Sweden near the arctic circle. We rented a car and drove as far north as we could before we had to turn around to catch our plane back to Stockholm. Luckily for us, these moose decided to wander near our path!


Some of the papers were airplane themed, so I thought they would go great with these photos of the first class lounge and plane ride we took last summer to Germany. And it was a great excuse to blow the dust off some of my Quickutz dies like the globe and airplane.


Be sure to check out what the other very talented DT ladies did with their travel papers this month!

Friday, August 26, 2011

Friendzy Friday-- Back to School Cones

A few years ago we found ourselves in a little German town having lunch in a beer garden and it happened to be the first day of school. We saw lots of little ones having lunch with their families to celebrate the big day and the kids were all clutching large paper cones which were brightly decorated and filled with little presents. I realised that I had seen a photograph of my father-in-law in the 1930s holding a similar paper cone on his first day of school in Germany.

So this week I decided that a version of these first day of school cones would make a great Friendzy Friday for TSF! I made one for my DH who will be heading "back to school" (back to work).

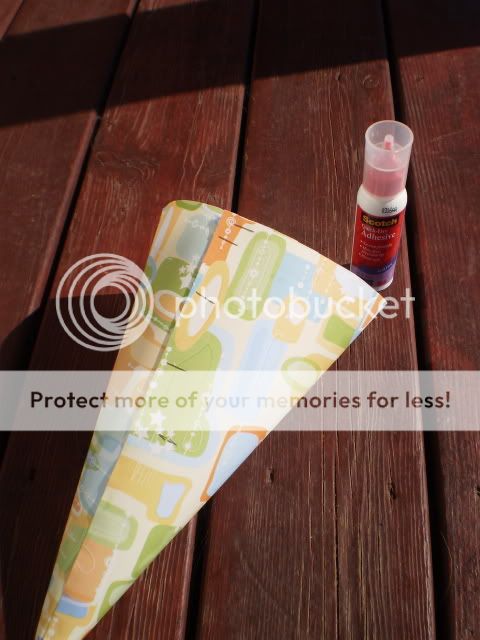
You will need a 12x12 sheet of stiff patterned paper, a stapler, ruler, pencil, scissors and liquid glue.
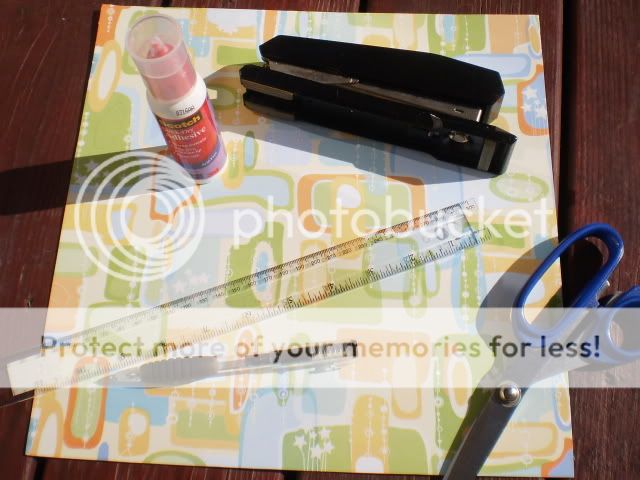


Fold your paper into a cone, overlapping the edges and trying to achieve a nice point at the bottom. Staple your cone in a few places so that it will hold its shape. Don't worry, you will hide the seam and the staples with your embellishments.


Draw a pencil line across the top of your cone to achieve a nice even top. Then trim along your line.
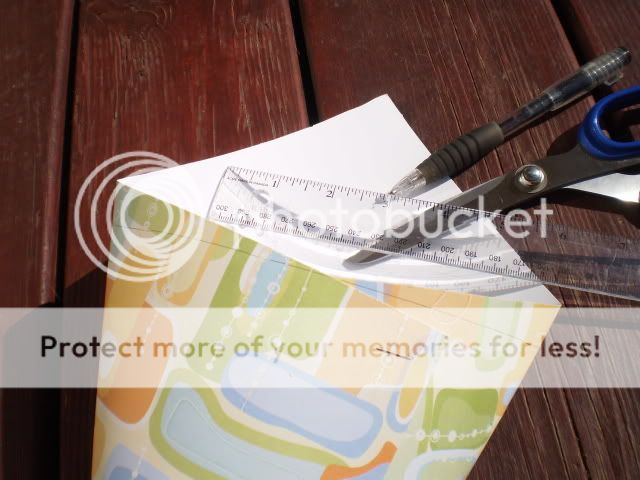


Add more staples as needed and apply some liquid glue along the seam as well.


Now that your basic cone is finished, let your imagination soar to decorate your back to school cone. I attached eyelets on each side and used this nice green ribbon as a holder. I glued this pom pom trim along the top to hide the edge. I punched lots of colourful stars from card stock, layered them and used them to hide the seam.


On Sept 6th I plan on filling this with little presents (like a Tim's card, chocolate, a new toothbrush, markers etc.) and hanging it on my DH's chair as a first day of school present. Maybe a new tradition is born??

Give these a try and show us your creations!

Tuesday, August 9, 2011

Australian Adventure!

This year our summer holiday took us back to Australia! My DH surprised me with a trip back to a land we first fell in love with in 2000.

The views around Sydney Harbour never disappoint. I never get tired of looking at the Harbour Bridge or the Opera House. We took this shot from the Manly Ferry.


We visited my dear friend Charlotte in Sydney. She took us to a cottage a few hours south of Sydney. Here we are on Culburra beach. Not bad for "winter"!!


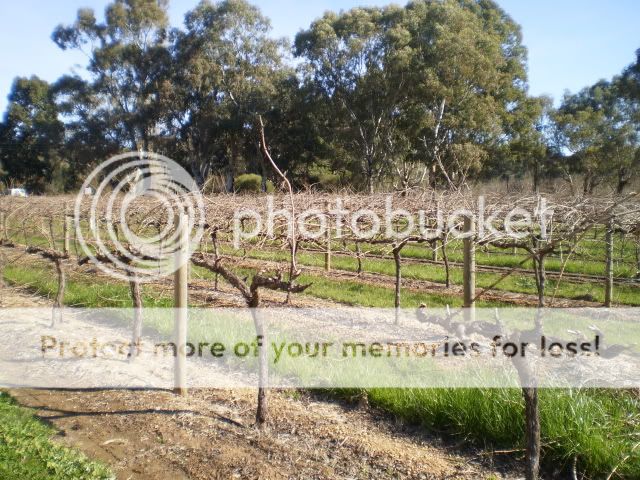
We also explored Adelaide and South Australia this time. Here is a shot of a vineyard in the Barossa Valley! All the Shiraz I could drink. My favourite!!


We made new memories of Australia this time. I can't wait to scrap all the photos.


And on the way home, we got "stuck" in San Francisco for a night due to bad weather in the midwest preventing us from getting our connection to Chicago. So it gave us a chance to get a little taste of that wonderful city! Another iconic bridge to view!! The Golden Gate Bridge in all its glory.


We are already talking about going back to California to give San Francisco its full due. And of course the nearby Napa Valley beckons as well!

Thank you Char for such a wonderful holiday in Australia!

Wednesday, August 3, 2011

August DT Reveal

For this month's TSF Design Team reveal, I got to work with the Yankee Doodles line from We R Memory Keepers.


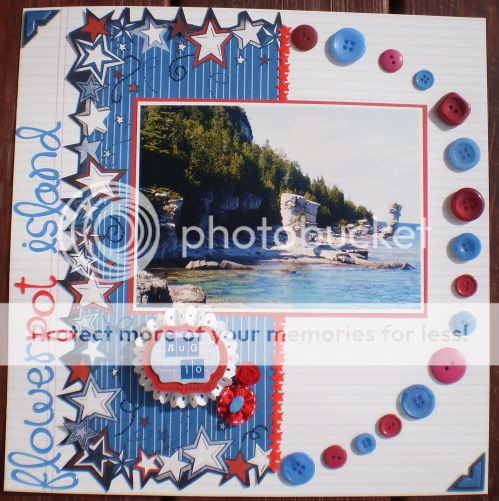
I created these two pages of the flowerpot formations near Tobermory.


Then I made two pages of a trip last year to Niagara Falls.


And finally the fun die cuts made a perfect sentiment for a card.


Be sure to check out what the other very talented ladies did this month!

Sunday, July 17, 2011

Friendzy Friday Organza Flowers

For this week's Friendzy Friday at Two Scrapbook Friends, I would like to show you these elegant sheer embellishments I made.

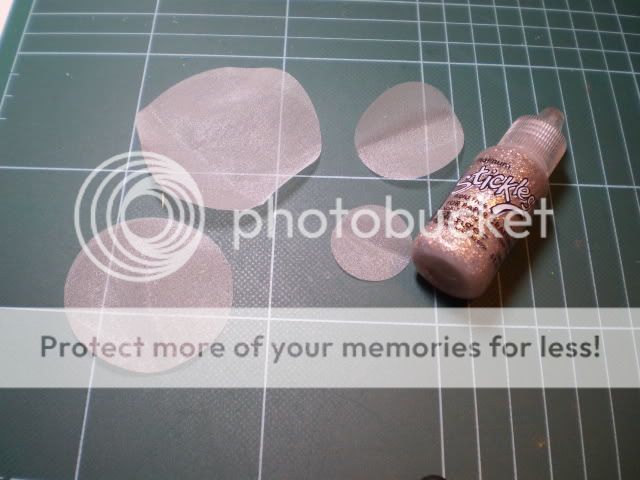
You will need sheer fabric (I used organza), coordinating Stickles and a decorative brad.


Cut graduated circles from your sheer fabric.


Trace the edges with Stickles and allow to dry.


Layer the circles and secure with a decorative brad. I used this gorgeous brad from MME's Lush collection.


Here's a finished example on a layout. I just love the sheer elegance it adds!


These are easy to make! Give them a try and experiment with different fabrics and Stickles colours.


Wednesday, July 6, 2011

Banner Bonanza!

A while back my TSF fellow forum follower and former DT member Bobbi put a call out for people to participate in a banner swap. I signed up and the group decided on a colour scheme, banner bases and the word "Celebrate."

I was assigned the letter "C". So I gathered some Echo Park papers in the appropriate colours, some coordinating felt and some paint.


Here's what I came up with.


Then I made 8 more!


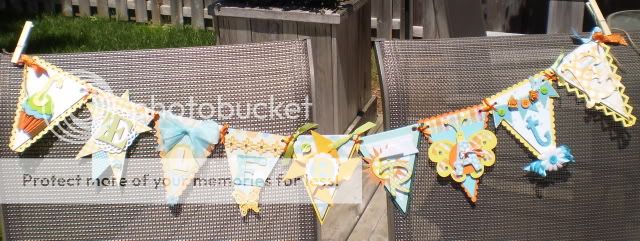
Best of all...here's the finished banner. It turned out so beautifully! I am thrilled with all the details and love everyone put into their letters.


Here are some of those gorgeous details...


Thanks ladies and thanks Bobbi! I am a now a proud owner of this banner and it hangs in my craft room where I can admire it all the time.

Friday, July 1, 2011

July DT Reveal

This month for the TSF DT, I received some great products from Cosmo Cricket's "Social Scene" line as well as Bella Blvd., some pearls, 4 glubers and some red fabric.


I made four layouts, two of our trip last year to Lulea in northern Sweden and two of Niagara on the Lake, or as we affectionately call it, "NOTL" as though it was a word.


I made this light green accent by winding the draw string from an old pair of yoga pants on a gluber!! I love how it turned out.


Lots of detail cutting! I love when papers lend themselves to that.


And here's a sneak of my "Cheers to Niagara Ice Wine" layout. I made this funky flower by pressing scrunched circles into a gluber. Kind of cool!


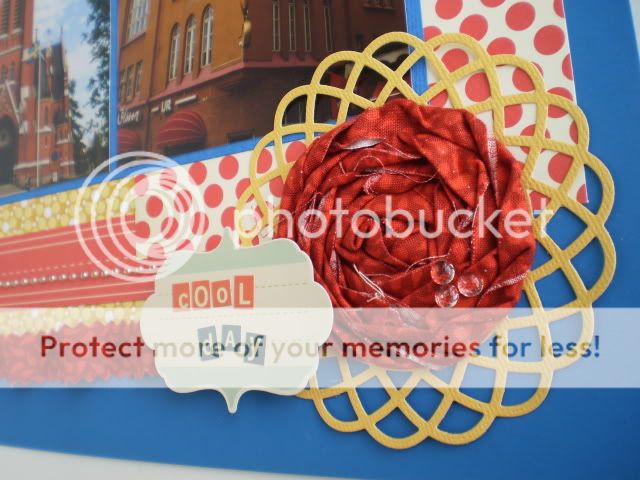
And "What a Cool Day" we had in Lulea! Close to the arctic circle but hot and sunny!


I made this flower with strips of my fabric and a gluber. I also stiffened some of the fabric to make this pleated strip that I pinked with scissors.


Here's a sneak of the other side of the Lulea layout. I hand cut this flower from the stiffened fabric. I also made a few rolled blossoms out of the stiffened fabric. It worked really well!


Finally I made a quick card. With my last gluber I made this pink flower from ribbon I dyed with Maya Mist.


Thanks for looking and be sure to check out my very talented fellow DT ladies to see what they came up with this month!