Tuesday, March 29, 2011

Two Scrapbook Friends Online Crop

This past weekend I helped host an online crop over at TSF. Our theme was TV. It was tons of fun. We had many participants and they really all stepped it up to fulfill our challenges.

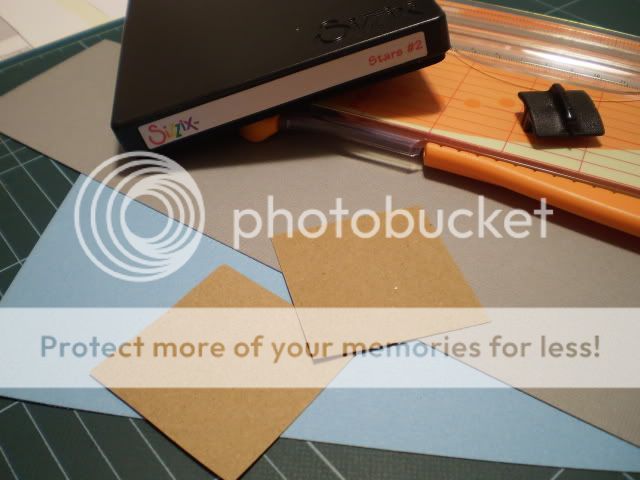
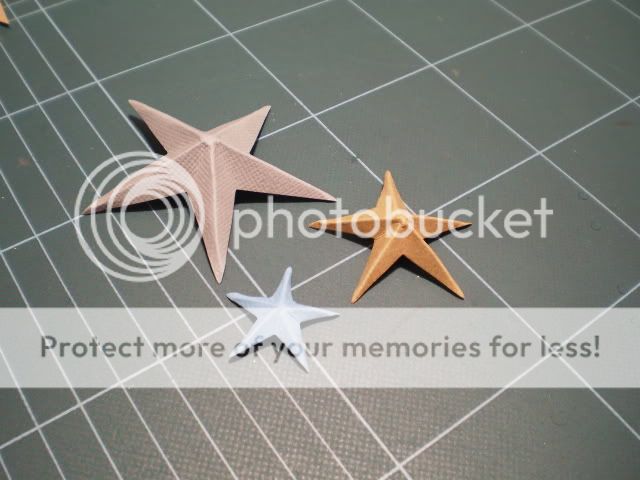
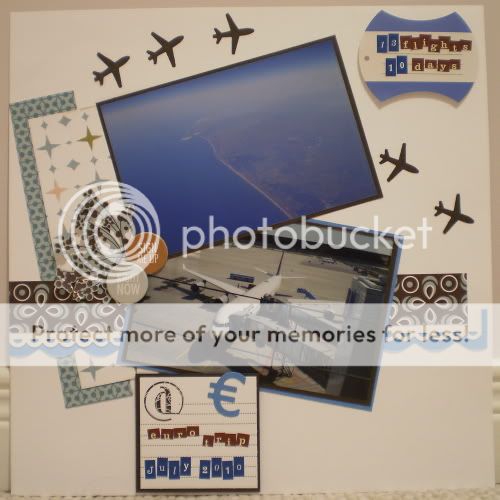
I used the Amazing Race as inspiration for my challenge. Here is my sample. It's the title page of my new in progress album of our trip last summer. The title says it all..."13 flights, 10 days, Euro trip July 2010." I used some BG papers and Scenic Route chipboard I was hoarding. Here's my layout for Joanne's Friends challenge. It is my BFF on her birthday last year. I used Kaisercrafts products. Avril's challenge was castles based on the show of the same name. I did a layout of a medieval castle! This is Kalmar, Sweden. More Scenic Route products from my stash. 
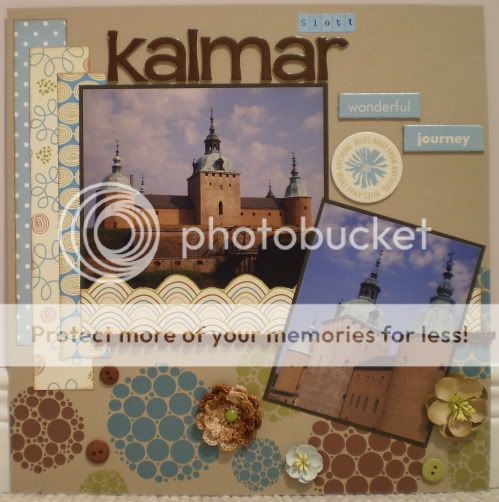
Carolyn's challenge was Happy Days. We had happy times for sure in Newfoundland last spring. This is Cape Spear, Canada's most easterly point. 
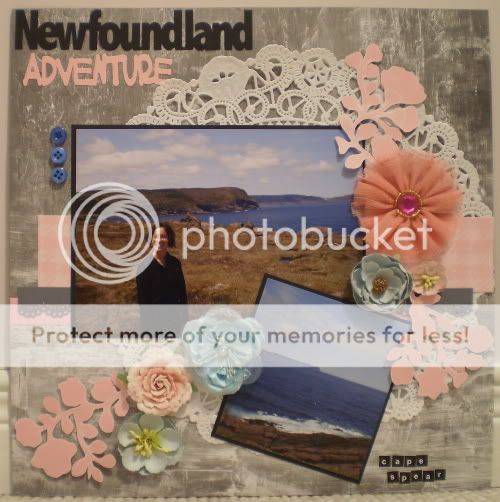
Christa issued a Glee challenge with a list of songs to inspire us. I chose Finger Eleven's One Thing. This is more Kaisercraft. Dee challenged us to showcase our couches, where we watch TV.
Check out the forum to see what all the talented DT and participants created.


What a fun weekend! Can't wait to do it again!

Tuesday, March 22, 2011

Sketch Challenge- Palm Island

This week it is my turn to post a layout or sketch challenge over at TSF. I chose a sketch from our very own Joanne. Her site I love Sketches is wonderful!


I rotated the sketch to accomodate my landscape photos. I always seem to have more of those. I used pp by K & Co. and letters by MLS and Jillibean Soup. The flowers are Prima and Recollections. These are photos at the Atlantis Hotel on Palm Jumeirah in Dubai.


Wednesday, March 9, 2011

Friendzy Friday Dimensional Stars

For this week's Friendzy Friday at TSF, I decided to show how I made dimensional stars for Carolyn's challenge during the Superbowl Crop a few weeks ago. I had seen them around and wanted to figure our how to make them.

You will need some med-heavy weight cs or pp, a star punch or die cut, and a scoring tool.


First I cut out my stars.


Then I scored each star going from the point to the opposite "v."


I did this for each of the star's points.

Then carefully fold "up" the crease on each point, and fold "down" the crease in each "v." All folds should meet in the middle.

Here you can see my finished stars.


I used them here on this layout of the Atlantis hotel in Dubai. You need to stack two or more pop dots at the back to get your star to adhere.


These are easy and fun to make.
Thanks for checking this out!

Wednesday, March 2, 2011

Fun with Circles

It's my turn to post a challenge on the TSF forum. Since Avril's squares challenge for layouts was such a hit last week, I thought using circles this week for cards would be fun.


I made this little card using punched circles that I misted, scrunched and layered.

I feel like I am "going in circles" this week, so perfect fit!

Tuesday, March 1, 2011

March DT Reveal!

This month I got to work with some super fun product from Kaiser for the TSF Design Team. This Seaside collection was right up my alley! I knew I had the perfect tropical photos to go with it!


"Birthday Fruhstuck" special breakfast at the condo. I added the doilie and the mini alpha stickers by MLS. I just love how the deck chair element matches our red chair so perfectly!


"Florida Memories" more birthday and pool fun last March. I sprayed my background paper with Maya Mist and Glimmer Mist. My first time trying this. I really like the result! I added letter stickers by Doodlebug.


"Florida Sunshine" shots from a trip to a citrus farm. Amazing to see all those oranges and grapefruits just ripe for picking! I added the doilie, glitter chipboard letters by K & Co., and mini alpha stickers by Cosmo Cricket. I love how the "beach ball" element from the patterned paper actually looks like a sectioned grapefruit on this layout!!


"Joshua Citrus" I added a Maya Road kraft ticket, trim, Doodlebug alpha stickers, Cosmo Cricket mini alpha stickers, wool for stitching, and felt flowers.


"Chicago: Second City--First Stop" I had more papers so I did this fun layout of our trip to Chicago last summer enroute to Europe. The reds and blues just went so perfectly with this photo. I added the ticket strip and mini alpha stickers by MLS and Jenni Bowlin.


Head on over to TSF to check out what the other very talented ladies did this month!


Monday, February 14, 2011

Sketch Challenge

It's my turn to post a layout challenge at TSF. I have chosen a great sketch from PageMaps. It's an oldie, but a goodie! I love the layers and the emphasis on one large photo.


Here's my layout. I used BG papers, some Prima flowers, chipboard letters by Bisous and mini alpha stickers by MLS. I followed the sketch pretty closely, except I used strip journalling instead of a block of text. I didn't even rotate the sketch. A first for me! This is the Burj Al Arab hotel in Dubai. We had the most lovely high tea experience there!


Thanks for peeking!

Wednesday, February 9, 2011

Accordian Flowers

Accordian flowers are becoming really popular. They look fabulous on pages and cards but can be a bit tricky to make. Here's a quick tutorial.


You'll need some paper, double sided medium to heavy weight patterned paper works best. You could certainly do it with card stock as well. You also need a scoring tool, a hot glue gun (very important), and an extra scrap of paper. I used an edge punch as well for added interest.


Determine the diameter of the finished flower you desire. You need to cut a strip of paper 12 inches in length and half the width of your finished flower. I wanted a 2 inch flower, so I cut a 1 inch strip. I also punched one of the long edges of my strip with a fancy border punch for added interest in my finished flower.


Next you need to score your strip at 1/4 inch intervals all along the length of the strip. Since my strip was already punched in scallops at 1/4 inch intervals, I simply scored between the scallops. Easy peasy!


Then pleat along the scored lines and you should then end up with an accordian strip like this.


Next, plug in your glue gun and wait for it to get nice and hot. Punch or hand cut a circle slightly smaller than your finished flower from scrap paper. Fold your strip around so the narrow ends meet with the patterned edge facing out. Hot glue these edges together, creating a circle.


Working quickly, gather the edges of your circle together so they all meet in the middle to form a flat flower. Place plenty of hot glue onto your punched scrap circle and press your flower into the glue, holding until set. If glue seeps through the middle that is fine, as you will hide this with your finishing embellishments. Hot glue is really key here. Any other adhesive I have tried will eventually fail and cause your flower to "pop" out of its flat shape.


Here's my finished flower. I topped it with a wooden flower and brad.


And here it is on my layout! It really adds nice dimension.


Give these a try! They are fun and worth the little bit of fuss.