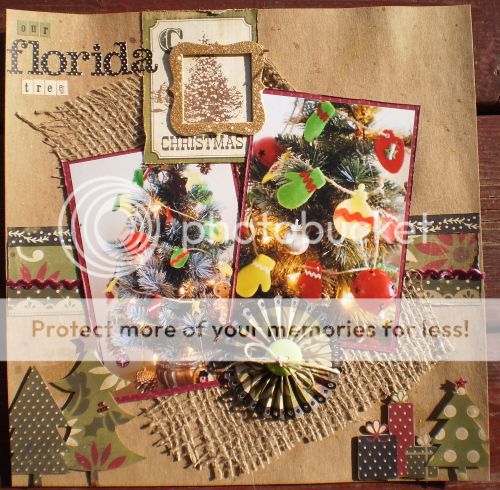
For this week's Friendzy Friday at
Two Scrapbook Friends, I thought I would experiment with some paper Christmas tree ornaments. There are lots of examples our there such as in the recent edition of Scrapbooks Etc. I adapted some of them and broke down the steps for this tutorial for paper snowflakes.
You will need some stiff patterned paper or card stock (I chose this textured cardstock), a scoring board, liquid adhesive and glitter and/or stickles.

Cut 7 strips at 1/2 inch by 6 and 1/8th.

Score the strips at 1/8th, 1 and 1/2, 3, and 4 and 1/2. Basically you are scoring the strips in quarters with an extra 1/8th at the end to glue your diamonds together.
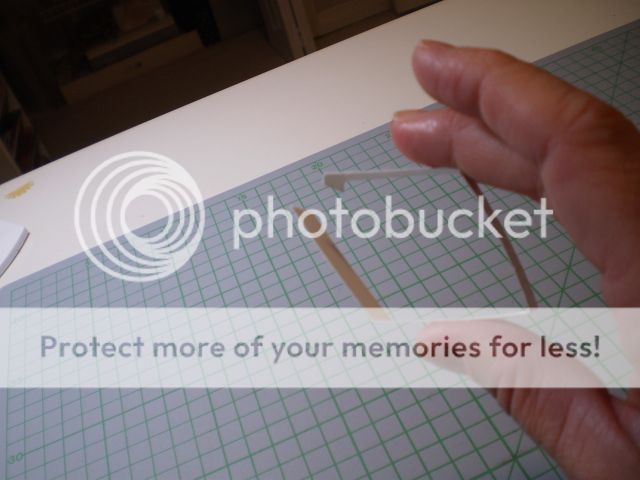
Do this for all 7 strips and then glue them together using your liquid adhesive.

Next, cut 7 strips at 1/2 inch by 3 and 1/8th. Score at 1/8, 3/4, 1 and 1/2, and 2 1/4. Again, you are basically scoring your strips in quarters with the extra 1/8th at the end. Glue these smaller diamonds together.

Assemble the large diamonds by gluing the edges together to form a snowflake.

Then glue the smaller diamonds inside each larger diamond. Don't worry if it doesn't look "perfect," remember snowflakes are unique!
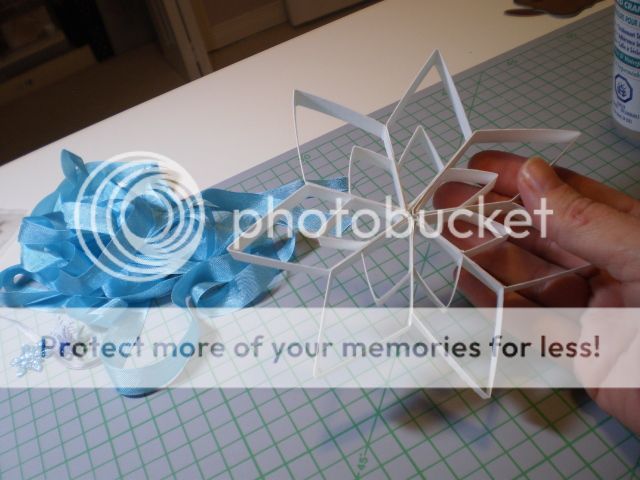
Then I added stickles AND glitter to the edges of the snowflake.

A blue ribbon and a glittery snowflake button in the middle finished it off!

I hope you give these a try this season and be sure to show us your creations!