
You need some felt, liquid adhesive (I find this Tombo glue works best for felt), and scissors.

You can free hand cut a circle, or die cut a flower with subtle petals like I did.
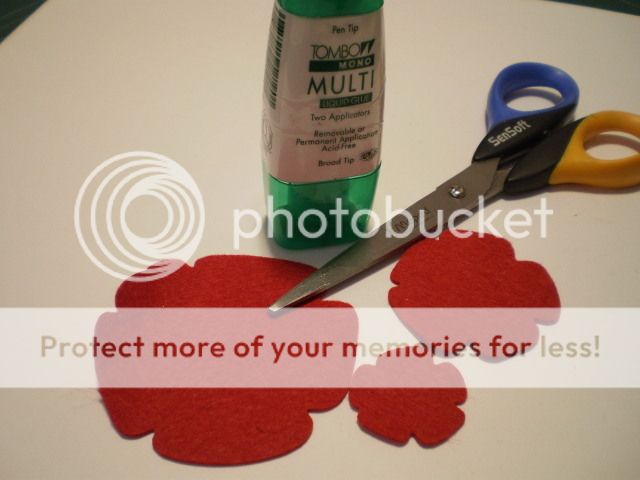
Cut a spiral into your circle or flower, beginning on the outside and working your way in. Make your cut irregular, it looks even better that way! You can also experiment with different width spirals. This will determine how "tall" your finished flower will be.

Roll up your flower, beginning on the outside.

Roll 'til you get to the very end, with just a flap left.
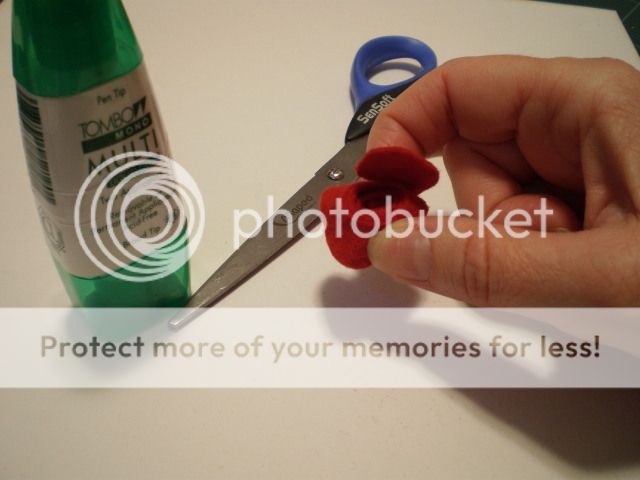
Put lots of glue on the bottom and press the flap firmly into it. Hold it for a bit until it starts to dry.

Then you have a finished felt flower!

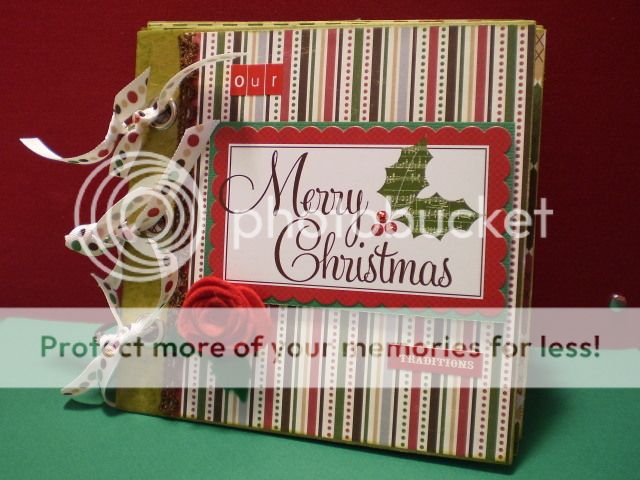
Here you can see I used it to finished off the cover of a mini chipboard album made with American Crafts papers!
I hope you try these flowers and experiment with different sized spirals and circles/flowers to start.


3 comments:
I crown you queen of the rolles flower!
Love these done in felt! Great idea!
I really like all your flowers. Done in felt gives them a whole new look.
Post a Comment